9 pounds frozen crushed strawberries
2 granny smith apples, cored
1/2 cup lemon juice
12 1/2 cups granulated sugar
16 (8 oz) half pint glass canning jars with lids and bands
Step One:
Fill a water canner with water leaving 3 inches from the top of the pot. Some canners have a fill mark. Bring the water to a boil. Depending on your stove this may take a while.
Step Two:
Place the lids in warm, but not boiling water. This will soften the rubber to help create a seal.
Step Three:
Pour the strawberries into a large stockpot.
Step Four:
Slice the apples into 1inch wedges. Do not peel the apples. Shred the apple wedges using the shredding blade on a food processor. In the absence of a food processor, half the apples and use a manual shredder.
Step Five:
Add the apples to the stockpot with the strawberries.
Step Six:
Juice the lemons, ensuring to strain out seeds and large bits. Add lemon juice to the stock pot.
Step Seven:
Mash the mixture until well blended and chunky.
Step Eight:
Add the sugar, and incorporate it into the mixture well.
Step Nine:
Place a plate in the freezer.
Step Ten:
Once the water in the canner boils, sterilize the jars and all utensils. Set them aside.
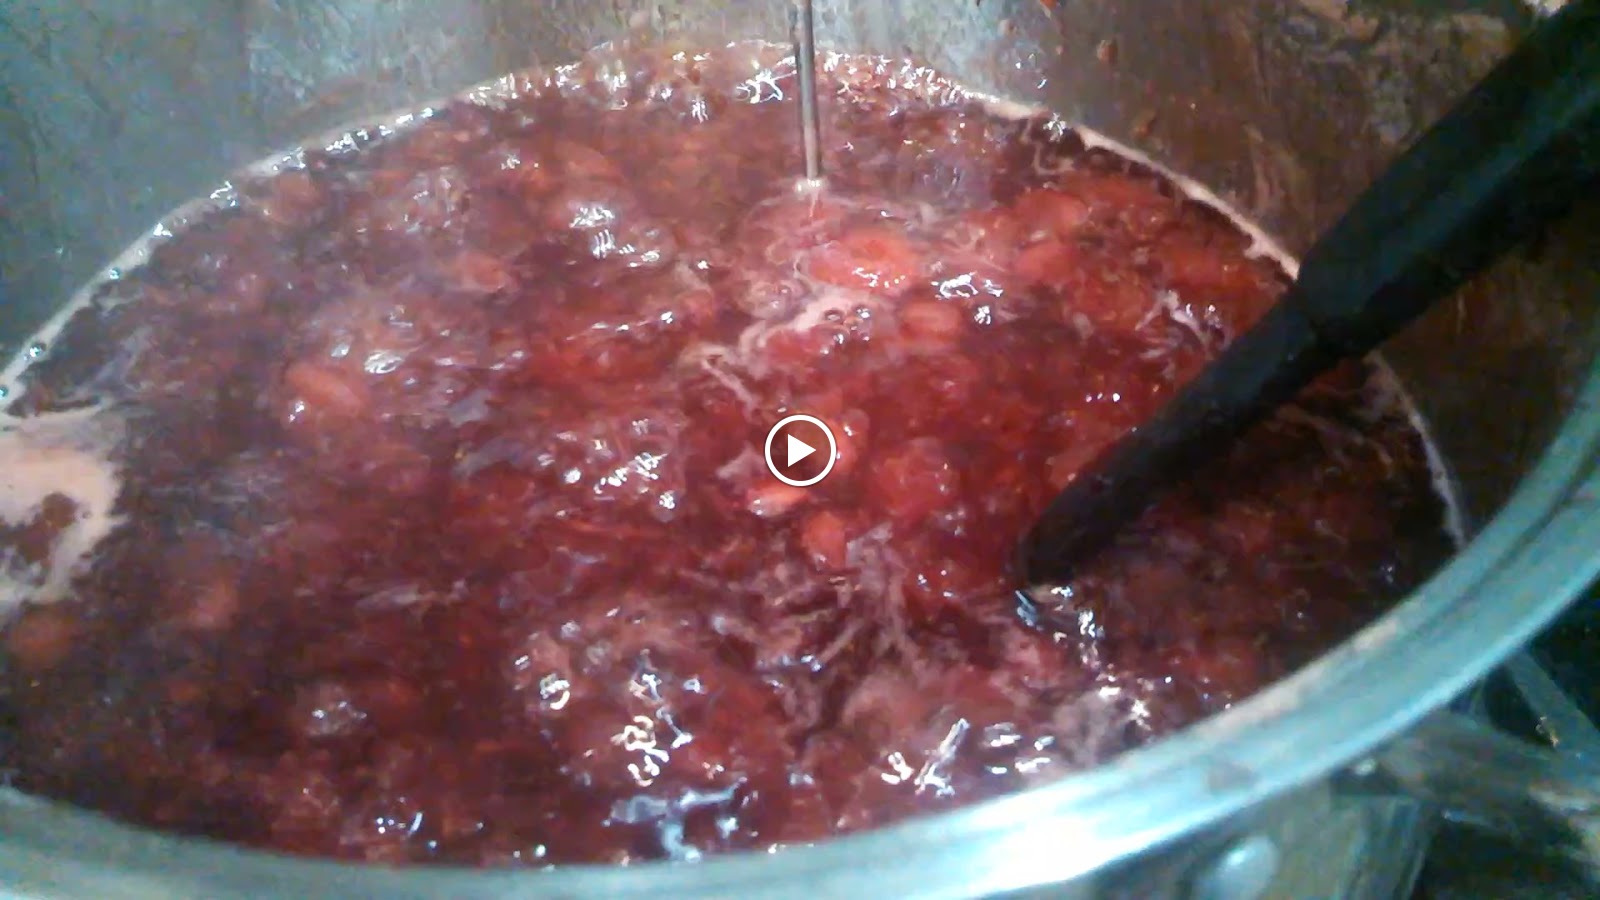
Step Eleven:
Bring the mixture to boil over medium-high heat while slowly stirring constantly. The bubbles at first will appear rapidly. Keep boiling and stirring until bubbles slow down significantly. If using a candy thermometer, then the mixture should be at or about 220°F.
Step Twelve:
As the mixture slows down reduced the heat to medium. Foam will rise to the top. These are impurities that will need to be removed so that the jam is clear. Spoon or ladle the foam to discard.
Step Thirteen:
Once the foam is removed, stir the mixture.
Step Fourteen:
Retrieve the plate from the freezer, and spoon a little jam on to the plate. If the jam thickens and becomes the consistency that you desire, then move on to the next step. If a thicker consistency is desired, place another plate into the freezer and cook the mixture longer while stirring.
Step Fifteen:
Fill the jars are clear and clean fill the jars according to the jar's instructions. A typical rule of thumb is to fill the jars until to about 3/4 of and inch from the rim, and ensure the rims of the jars are clear and clean. Lid, and place the ring on the jars until they are secure, but not over tightened.
Step Sixteen:
Place the jars in the canner of boiling water. Bubbles will come out of the jars. The lids are designed to allow air to exit the jars to create a vacuum (this is why the jars should not be over tightened). Process (boil) the jars for five minutes.
Step Seventeen:
Retrieve the jars from the canner and with for them to cool. The jars will make an audible pop sound as the vacuum indicator contracts. If any do not contract, then reprocess the jars. If jars without the safety indicator are used, then after the jars cool, remove the band and try to lift the jar while holding only the lid. In all cases if the jar does not seal, then replace the lids and reprocess.
Let the jars completely cool, before tightening the bands.
Note: All times and temperatures are set for locations at sea level please check with your Extension Service regarding adjustments for locations at higher or lower altitudes.