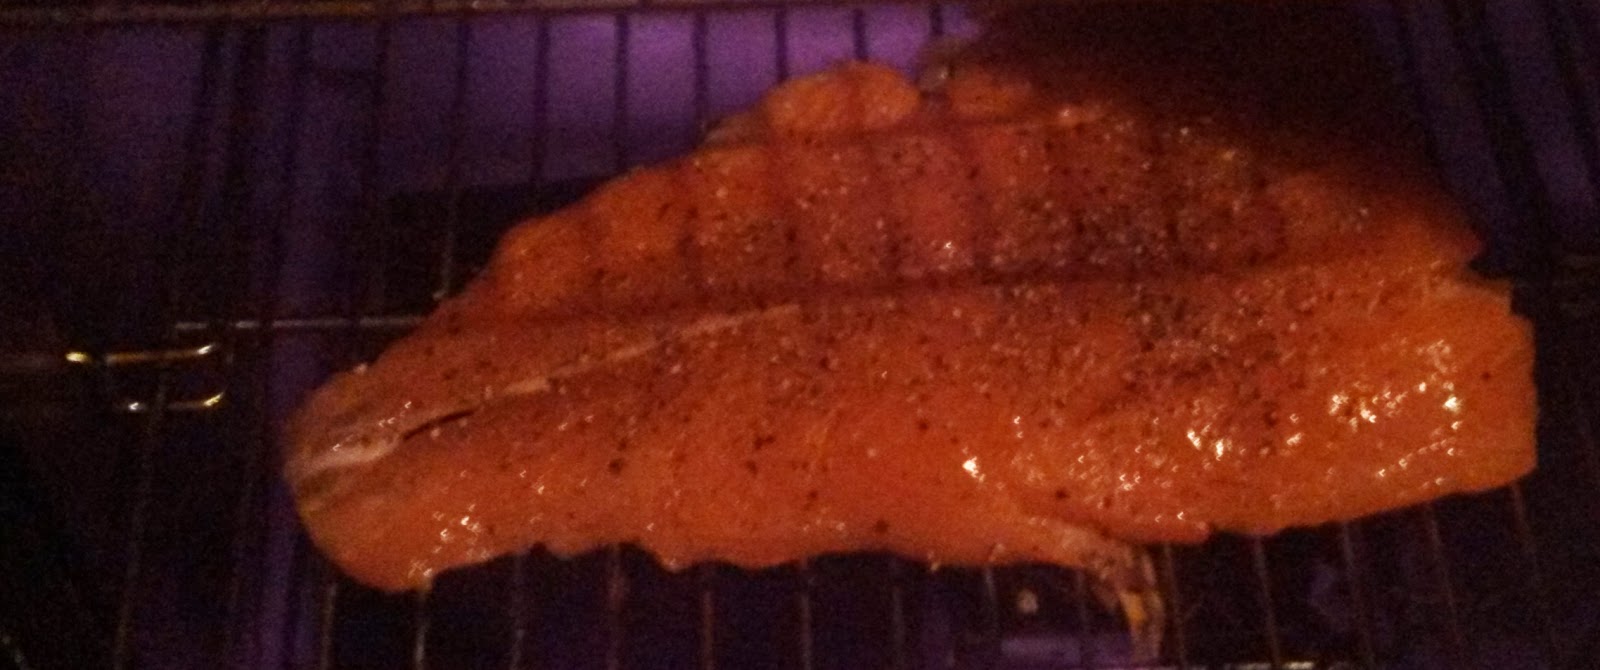
First up, is our adventure making Lox. Lox are cured salmon filets they are similar
to their cousins smoked (but not cured)
salmon and Gravlax (smoked and cured). Like
salting Cod, curing Lox was a way to preserve the fish. Unlike salted cod, which must be soaked to remove the salt so that it can be used in recipes, lox are
cured and seasoned to be eaten as lox.
While many people enjoy lox in a multitude of preparations,
most people don’t enjoy their hefty price, which can be as high as $30/pound.
Yikes! So why not try making them at
home and save a little bit of cashola?
Well, first there’s the little
thing of learning how to make lox. Good
thing there’s the Internet. Depending on the search terms and search site you
use the number of sites recipes is boundless.
Some use herbs, some pepper, and even some dried mustard. Although there
are many variations the core preperation is roughly the same, that is Salt, Sugar, Compress,
& Wait.
Step One: Get da Fish
The first step involves the salmon. Different types of salmon, and other salmon like fish, have different flavors. If wild caught vs farm raised matters to you by all means get the fish you want to eat, because that's what this is all about.

Ideally a center cut piece of roughly 1.5 pounds 1 to 1.5 inches thick cut in half where both halves are of equal thickness should be purchased. The skin is left on the salmon. Never tried it with the skin removed, but it may work. The equal thickness is really important because you'll want equal curing.
If you can't afford or can't find big thick pieces of salmon, then get two thinner pieces of equal size, you'll just have a shorter curing time.
Even in the center cut pieces you'll see the thinner edge of the salmon filet, trim. The trim should be removed, it will cure very fast and because of the texture it may taste funny. Now, don't toss it, because you can cook and eat it, just not recommended for this preparation.
To remove the trim use a sharp knife to cut in about 1/4-1/2 inches or more depending on the filet.
Next there's checking for pin bones. Most fishmongers do a good job at removing these bones, however it's always a good idea to check. simply run your fingers down the filet against the grain, you'll feel them if they are there. To remove use pliers or a spoon (there's a kitchen tool for this, but pliers work fine).
Step Two: Get Da Seasonings
Now that the fish is taken care of slip her in the fridge and now on to the base, salt and sugar. Here you'll see some variations. The kernel to take away with is you'll need less sugar than salt at least 1:3 or even 1:4.
IMPORTANT: AVOID ANY SALT WITH IODINE.
Most recipes recommend Kosher salt, and that's the one used here, but pickling salt, or even rock salt may work. We didn't try sea-salt, it may work but you may need to add more depending on it's salinity, and it's also pretty pricy and the goal of this is to save some cashola! Non-ionized salt table salt presumably could be used, and if it works please share your results in the comments.
Second is the sugar, brown sugar was used, presumably white sugar could also be used, brown sugar imparts a deeper flavor, but that's your call really. The idea of the sugar is to offer some sweetness, and to an otherwise salty endeavor.
Which ever you sugar or salt you go with you'll need to mix them together and rub them on the salmon.
Here is where you can add all that other stuff you may find in various recipes such as Dill, Ground Mustard, Pepper, and you name it.
Where to start is your call, but both pieces front and back (skin side) should get a good rub down. It's more a rub and a pat down. If you've ever made a dry rub for BBQ it's the same idea, and if you haven't stay tuned for our BBQ post.
Step Three: Marry, Wrap and Compress
Rub-A-Dub-Dub you're done with the rub, now you get to marry the two pieces together flesh sides in and skin sides out. A good tip here is to do this on top of plastic wrap because the next step will be to wrap them in plastic wrap. If you don't you'll end up with more of your rub on your hands.
Once you've wrapped your married filets place it in a container big enough to hold them and a compression device such as a brick or a heavy pot or weight. You'll want something that will press the filets together, but clearly something that will fit in and won't damage your fridge.
An old pot worked here, once you weight you put the container with the salmon and weight in the fridge and you well, wait.
A few days in you'll see fluid in the container, pour it off and place everything back in the fridge. The fluid will be darker if you used brown sugar.
Step Four: Unwrap, Rinse (Really Important) and Enjoy (or Freeze)
After a 4-6 days, depending on the level of cure you want, but please know a longer time will yield a firmer constancy. Curing for too long will make it hard much like salted cod which isn't lox, but salted salmon. Yuck! Please remember if you have thinner filets you'll need a shorter curing time than thicker filets.
The filets will be encrusted with salt and sugar. An important step is rinsing the salmon. Curing will keep occurring and the fish will harden if this step is skipped. Also the fish will be too salty to eat.
To rinse simply run the salmon under cold water for a few minutes, or soak it for a few minutes (not too long) in a water bath.
You may find you have to brush some of the salt away, that's just fine.
Next up is the enjoyment of eating your own lox! Using a knife slice the filet and do what ever you want: bagels, eggs, salads, crackers, whatever!
Now, you may make more than you can enjoy at the present time. Good news, you can freeze lox for about six months. The best way is if you have one of those vacuum seal machines, but even if you don't you can place them in a freezer zip top bag being careful to get as much air out as possible and freeze to enjoy later. To thaw, place frozen lox in fridge until thawed.
There you have it lox!
currentVote
noRating
noWeight


 Step Two: